Hazards and Enemy AI
Development Update
Thanks for reading another blog post about the development of my game, it is very much appreciated. I am making great progress on it so far and am excited to keep sharing what I am doing. I am feeling very motivated, dedicated, and eager to keep working hard on the game! So I will keep updating my blog with new features, mechanics, systems or anything that is happening. Here are some of the features that I have added into the game recently. Enjoy!
Enemy AI
I added an enemy AI that is very simple. It moves from one cell to another cell in order and loops. The positions will be defined by the designer in the inspector by cell positions. I also added a gizmo to highlight the cell if there is a position in the Waypoints list so its easy to see the path in the editor. This will make it easy to add various pathing in different parts of the game. I also have added a pause duration in each cell when the enemy has reached that position. It will move to a cell, wait until that pause time is up, then move to the next cell. If the wait is 0, then it will just keep moving along from cell to cell.
In the images below shows how it looks in the editor for adding waypoints to the list and also a visual on the grid in the game window. The green highlighted cells are the current positions that are listed in the Waypoints list.
Hazards
I planned to add some hazards for the player to avoid such as holes in the ground, lava pits, spike traps and more. This was really easy to get implemented in my game cause all I really had to do was move the players position to the center of the hazard, shrink the player sprite and respawn the player once the animation is completed. This felt great when playing a test level with it as it gave added challenge to maneuvering around the level with the existing mechanics.
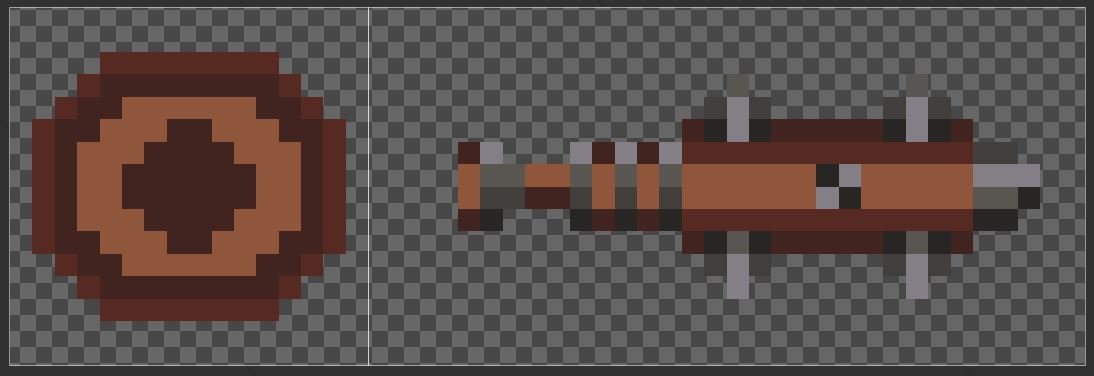
Another hazard I added was a Spinning Spiked Bat hazard. Basically its a spiked bat spinning on a base and rotates in a circle. If the player collides with it, then the player dies. The artwork and what it looks like when put together will be in the images below.
I drew a basic hole (as seen below), in the ground for the player to visually see the hazard.
Below is a code sample of how I am checking if the player is falling, taking damage, and positioning the player.
Challenges
I have enjoyed adding these systems and mechanics in the game but they also required some problem solving skills when adding them.
One of the decisions I had to make was how I wanted the enemy AI to function. Did I want it to freely move around? Did I want it to follow a set path? So…. I went with a set path mainly because I am making my levels as puzzles for the player to navigate through and it will be much easier to design levels that way. After figuring out how the enemy will navigate, I made my code easy enough to edit nodes in the inspector. I wanted to be able to change the grid position on the fly if I need to change anything. I am glad that this way worked out in the end and it turned out to be quite flexible.


